Friday, July 31, 2015

The Perfect Burpee

The typical burpee consists of four basic steps.  Squat down, thrust legs out, pull legs back in to the squat position, spring back up with a jump at the end.  This differs from the regular squat thrust in that you only stand at the end, and go to the next repetition, forgoing the jump.  However, while the burpee does wonders in giving power to your core and legs, it to a large extent leaves out the upper body, other than momentarily bracing during the thrust and recoil part of the movement.

A United States Marine performing burpees.

The Perfect Burpee
 
1.  Squat:  From the standing position, place your feet shoulder width apart.  When you descend, do not lean over and round your back when you go to place your hands on the floor.  Squat in the same manner as you would with a barbell on your back, until you are able to touch your hands to the floor.
2.  Thrust:  From the bottom of your squat position, thrust upwards just enough to kick your legs straight out from underneath you.  When you kick them out, try not to bring them together.  Keep them shoulder width apart so you can bring them right back in to the squat position after the insertion of the next step.

3.  The Push Up:  This is not a step in the traditional burpee.  However, it can really add value to it.  When you squat down, with feet shoulder width apart, you tend to put your hands slightly wider, which puts them in a perfect position for a push up.  This added step will make the burpee work the arms and upper torso, namely the pectorals and deltoids.

4.  Recoil:  Keeping your feet shoulder width apart, spring off your toes, pushing inward and slightly upward.  Do not round your back;  keep it either straight or slightly arched upward.  That way, when you place your feet back down, you will be back in the ideal down position for a squat.  Your feet flat on the floor, your thighs below parallel.

5.  The Lift and Jump:  This is the positive (concentric) part of what is a plyometric squat.  From the bottom position, explode out of the hole as fast as you possibly can, pushing the floor away from you.  Push off with your heels; this will help you to maintain your squat form.  Throw your hands upwards to help you get more air out of the jump.  While in the air, make sure your knees are not locked.  Again, keep your feet roughly shoulder width apart, so when you land, you can spring downwards into the squat position to begin your next rep.

Monday, July 13, 2015

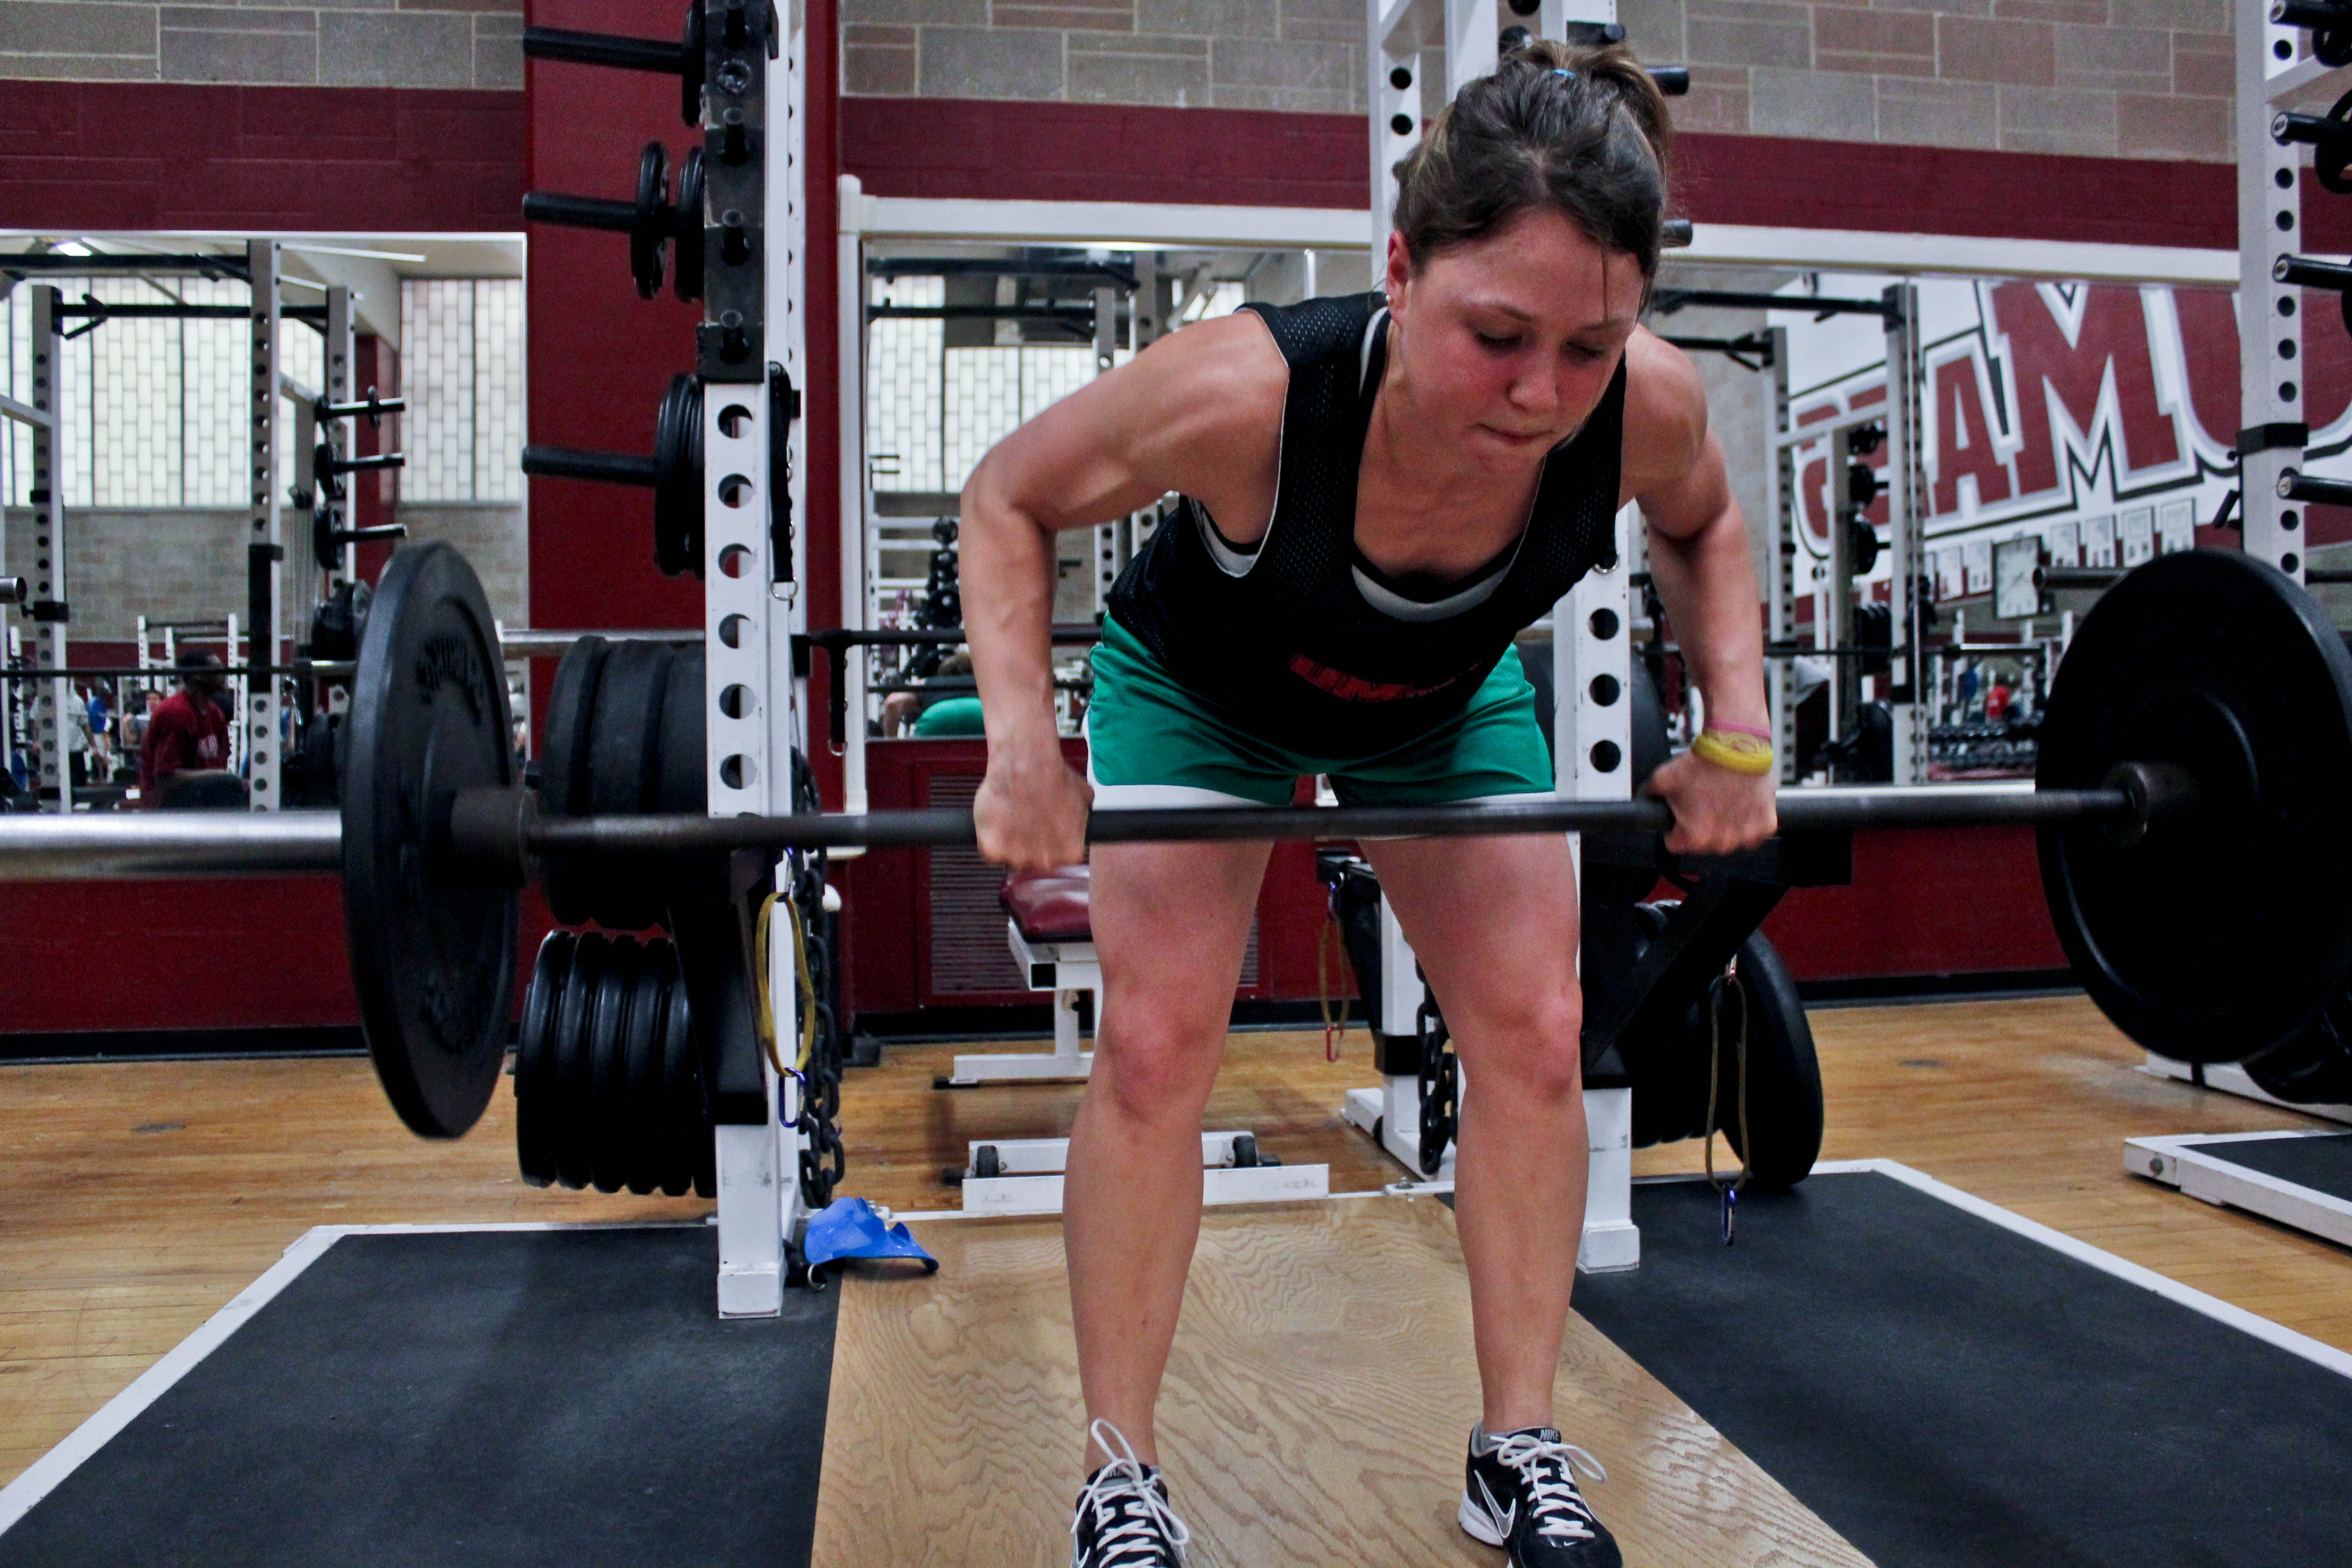
The Correct Way to Barbell Row

In the weight room, the object should be to condition and strengthen your muscles.  Not to strengthen your ego.  In fact, attempting to strengthen your ego in the weight room can put you at odds of the real goal.  It can do this in two ways.  The more obvious way is that improper lifting and stressing your body with poundage it can't handle with a correct lift can increase your risk of injury.  The other way, is that by taking a shortcut, such as a greatly reduced range of motion, your muscle is not being strengthened to near the degree it could be using correct lifting technique.

These shortcuts seem to be taken more on certain lifts than others.  It is highly probable that the lift done least correctly by the most number of people is the squat.  We have all seen many people load 400-500 pounds onto the bar and then squat down five or six inches.  One other lift where cheating is also rampantly observed is the back barbell row.  Many do not even realize that they are doing this lift wrong, as definite technique is often not taught.  Hence, people can be injured from rounding their backs, or end up moving the weight in only a few inches worth of range of motion.

The most common method of barbell rowing, especially by heavy lifters, is the following:  The bar is lifted off the rack, or platform in a standing position.  The lifter bends over at about a 45-60 degree angle, and rows the bar towards the lower abdomen.  And often, especially on heavy lifts, it consists of using momentum by swinging the back at the hips.  This use of momentum will de-emphasize the lats, which are the prime movers of the barbell row.  The reason behind performing the movement this way is to be able to lift a heavier weight than what your lats can actually handle.  These jerking movements carry a risk of injury to the biceps and lats, and the greatly reduced range of motion will hamper the development of those two muscle groups.


How to Correctly Perform the Movement

1.  It is probably easiest to start with the weight on the floor.  Not on the rack, or at any elevated position.  That way, it will make it easier for you to get your body in the proper positioning before you have a heavy weight in your hands.  This is most true for the working sets; it is somewhat less important on the warm up sets with light weight.

2.  Body positioning: your knees can either be straight, or slightly bent.  Place your feet about shoulder width apart.  As with all lifts and movements where you are handling a weight in a bent position, it is extremely important to keep your back straight, at the very least.  It is ideal to keep an upward arch, but most importantly, do not round your spine.  That places undue shear force on your discs, and your luck will eventually run out, more likely sooner than later.  Your back should be bent at an angle just short of 90 degrees.

3.  Starting with the weight on the floor, pull upwards in a fluid motion.  Do not use your spinal erectors to create momentum and jerk the weight upwards.  Pull the weight towards the midpoint between your sternum and bellybutton.  If you cannot get the weight all the way to your abdomen, use a lighter weight.

4.  Lower the weight in a controlled manner until it touches the floor.  Do not bounce the weight off the floor to start your next rep.  When the weight hits the floor, pause briefly, then repeat.  Aim for a weight where you can do 8-12 reps for three sets.